Step 1 – Fall Inspiration

For this project, the inspiration came from a gorgeous group of gourds huddled together at a farmer’s market. The gourds beckoned, “Look at us!” The variation in color and texture intrigued me, so I paused and thought, “I wonder if I can find one to scan with SOL?”
Step 2 – The Search
After digging through the pile, I came across this gourd that appeared to be less than 7 inches in height and width (roughly within the dimension specifications required of the scanner to scan in far mode). Given that I drive around with a SOL scanner in my car, I was able to validate that the gourd fit on the turntable and snapped this photo.

Step 3 – Feel the Excitement!
Filled with the crispness of fall and memories of Charlie Brown’s Great Pumpkin, I drove home to scan this little beauty.

Step 4 – The Scanning Process
I fired up the SOL scanner and computer and performed three scan passes. Each scan pass lasted approximately 20 minutes. The resulting scan displays more detail and texture than I imagined. The scan is “spot on” in its representation of the “baby” gourd.
Step 5 – Planning Transformation
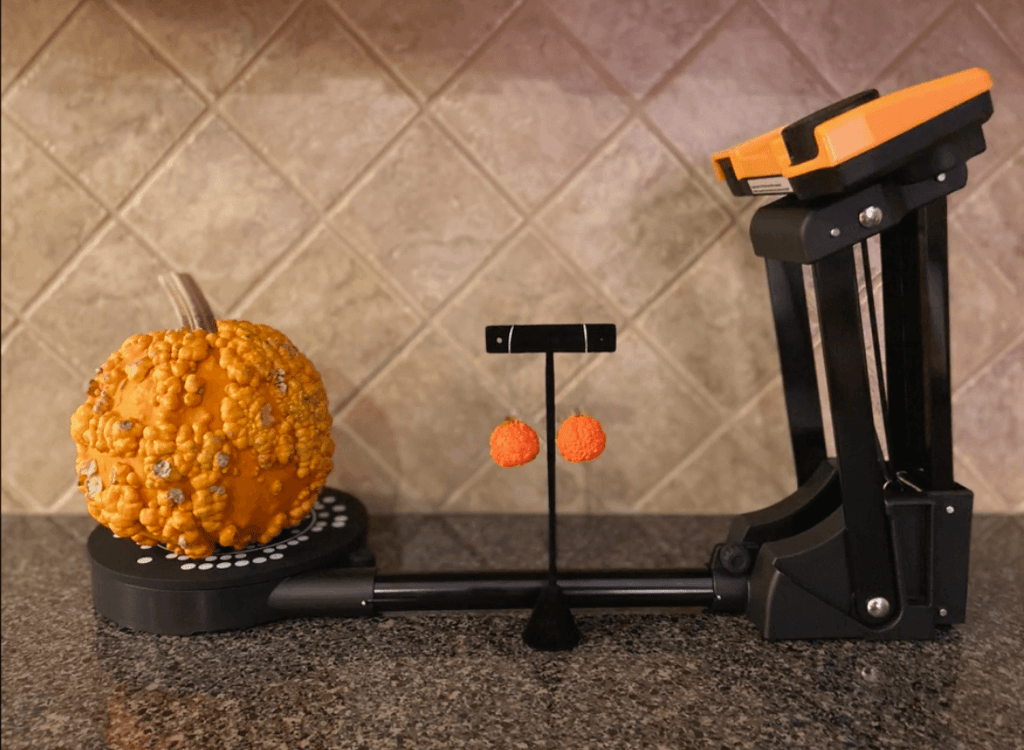
Once the scan was completed, I decided to transform the gourd into an accessory piece for fall earrings or a pendant for Halloween and Thanksgiving.
Step 6 – 3D Printing
Since I don’t own a 3D printer, I visited Sculpteo, an online 3D printing service, to scale the model down from approximately 7 inches by 7 inches to roughly 7/8 inch by 7/8 inch. I exported the 3D model from the SOL software to an .obj file and uploaded the file to the Sculpteo website. The site software tools allowed me to scale the gourd down to the proper size and choose a plastic material for printing.

Step 7 – Receiving 3D Prints
The order took approximately 10 days to receive from Sculpteo by mail. The prints arrived in this cute box.

The 3D replicas turned out amazing – keeping the level of the texture of the original gourd.

Step 8 – Earring Engineering
To turn the mini gourds into earrings, two O-rings were hooked together to fit around the neck of the gourd. Super glue was used to secure the O-rings to the mini gourds.

Step 9 – Let’s Paint
The gourds were painted with vermillion orange and green gold acrylic paint.

Step 10 – Attaching Earring Hooks
Large earring hooks were put through the O-rings, so the baby gourds can be worn and shown off.
